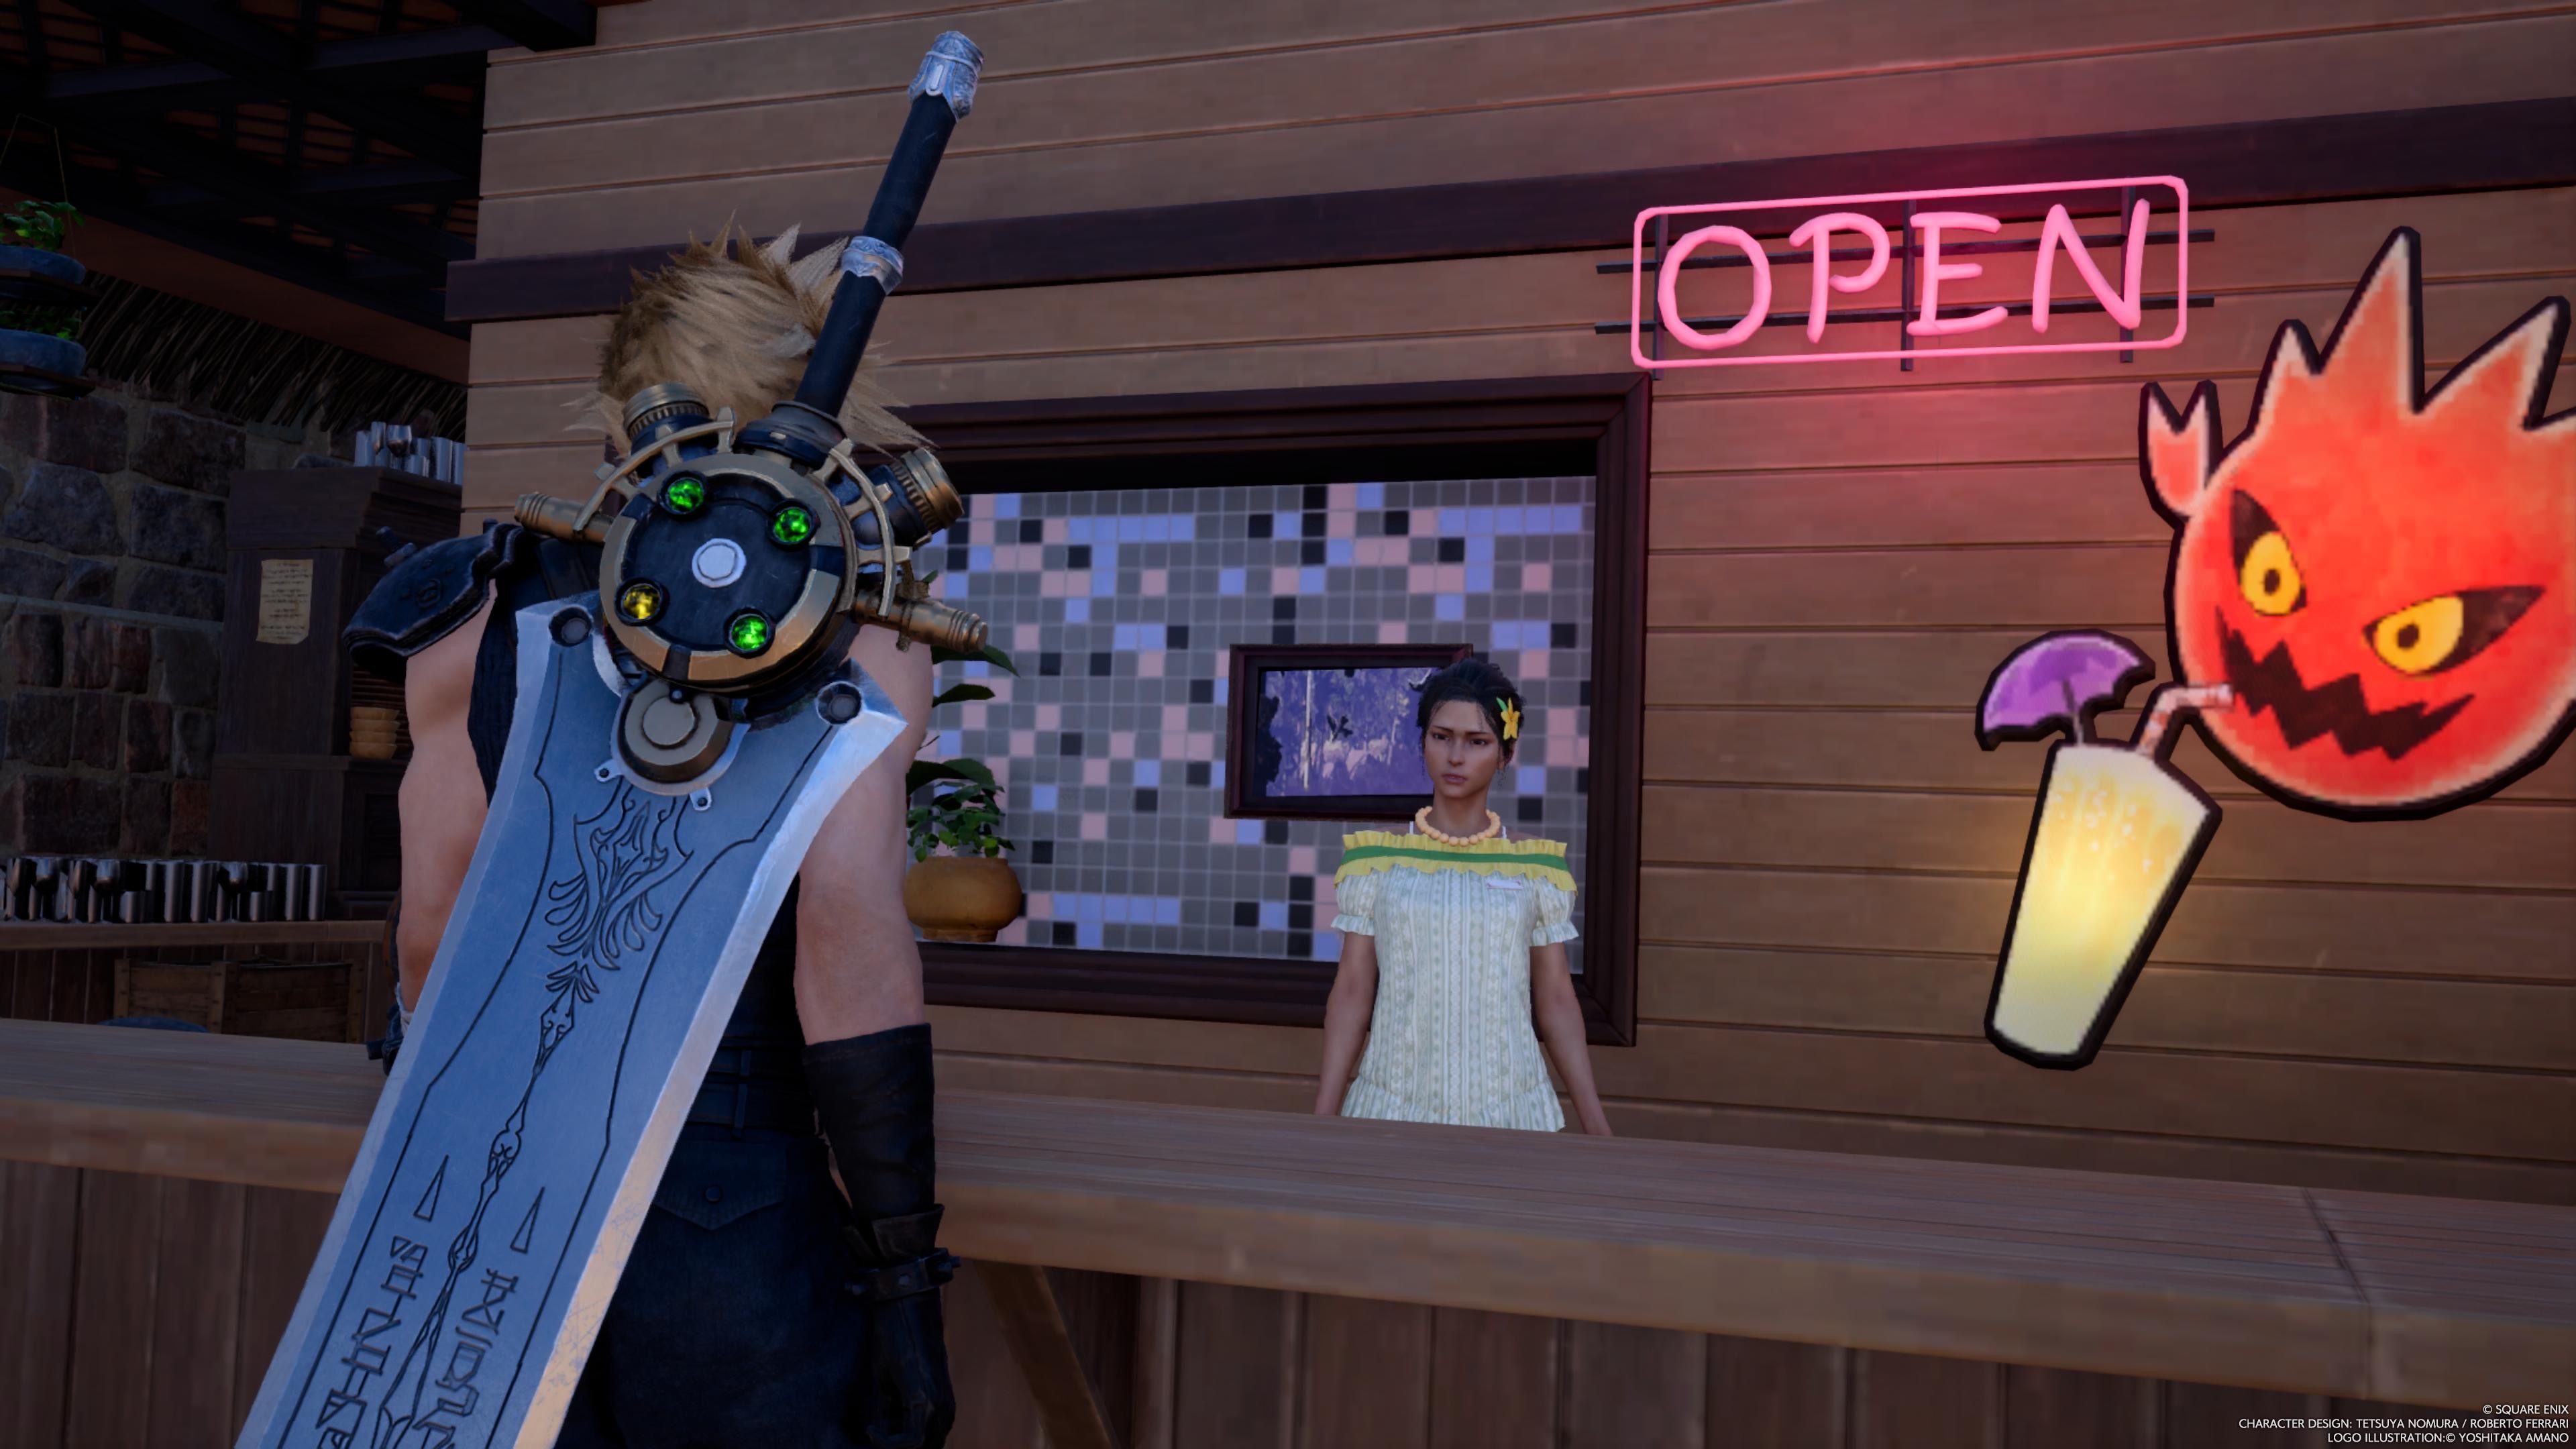
Card Carnival is a spin on Final Fantasy 7 Rebirth’s Queen’s Blood card game. You’ll play it in Costa del Dol during chapter 6, while trying to earn companion cards to exchange for a swimsuit for Cloud, but can revisit for extra puzzles in chapter 12.
Card Carnival isn’t your standard version of Queen’s Blood. You don’t use one of your customized decks, and are instead handed a predetermined set of cards. There are no turns either — you simply have to place the right cards in the right positions to outscore an opponent whose cards have already been positioned.
You only need to finish the first three puzzles to move ahead in the story, but there are five additional optional challenges with rewards.
Here are the solutions to all eight puzzles of the Card Carnival challenge in Final Fantasy 7 Rebirth, plus the prizes you’ll win for each one. We’ve also included numerically annotated images of each solution, though note that some puzzles require you to destroy cards to win. In the interest of clarity, we’ve only shown (and numbered) the cards that should be remaining for each puzzle’s solution.
Card Carnival ‘Three-Card Stud’ solution

The first Card Carnival challenge, “Three-Card Stud,” pits you against an opponent with one point in the top row, two points in the middle row, and four points in the bottom row. Focus on outscoring them in the top in middle rows.
- Place the Fleetwing card on the middle square of the bottom row.
- That should buff the furthest left square of the top row to have two pegs. Place the Mu card there.
- The center-left square of the middle row should have two pegs now because of your Mu card. Place the Quetzalcoatl card there and end the match to win 5–4.
You’ll earn the Fleetwing card for use in your personal collection after winning this round of Card Carnival.
Card Carnival ‘Go for Choco-Broke’ solution

The second Card Carnival challenge, “Go for Choco-Broke,” pits you against an opponent with nine points in the top row, seven points in the middle row, and nine points in the bottom row. Focus on putting all of your points in the bottom row.
- The furthest left square of the bottom row is the only location with three pegs. Place the Fat Chocobo card there.
- Place the Posh Chocobo card on the middle square of the bottom row.
- Place the Chocobo & Moogle card on the center-left square of the bottom row, which should now have a peg on it from your Posh Chocobo card, then end the match. You should win 17–16 thanks to the Posh Chocobo card’s ability, which buffs any lane you’re winning by an additional 3 points.
You’ll earn the Posh Chocobo card for use in your personal collection after winning this round of Card Carnival.
Card Carnival ‘Mischief-Making Moogles’ solution

The third Card Carnival challenge, “Mischief-Making Moogles,” pits you against an opponent with six points in the top row, four points in the middle row, and four points in the bottom row. Use your Moogle Trio card to expand your hand and win the bottom two rows.
- Place the Fleetwing card on the center-left square of the middle row. This will create pegs on the furthest left squares of the top and bottom rows.
- Place the Moogle Trio card on the furthest left square of the middle row, which will add pegs to the center-left squares of the top and bottom rows. This will also add the Moogle Mage and Moogle Bard cards to your hand.
- Place the Moogle Mage card on the center-left square of the bottom row, destroying the opposing Cactaur card.
- Place the Moogle Bard card on the furthest left square of the top row, adding 2 power each to your Fleetwing and Moogle Mage cards.
- Place the Grasslands Wolf card on the furthest left square of the bottom row, then end the match to win 11–6.
You’ll earn the Moogle Trio card for use in your personal collection after winning this round of Card Carnival. You’ll also get one companion card for Cloud.
Card Carnival ‘Spears and Needles’ solution

The fourth Card Carnival challenge, “Spears and Needles,” pits you against an opponent with six points in the top row, two points in the middle row, and seven points in the bottom row. To win, you’ll need to use Spearhawk and Cactuar cards to buff your score in the bottom row.
- Place your first Spearhawk card in the middle square of the top row.
- Place your second Spearhawk card in the middle square of the middle row.
- Place your Cactuar card in the center-left square of the top row.
- Place your Quetzalcoatl card in the middle square of the bottom row, then end the match to win 11–6.
You’ll earn the Spearhawk card for use in your personal collection after winning this round of Card Carnival.
Card Carnival ‘Sea Devil by Night’ solution

The fifth Card Carnival challenge, “Sea Devil by Night,” pits you against an opponent with eight points in the top row, five points in the middle row, and four points in the bottom row. To win, you’ll need to sacrifice low-power cards to buff your Sea Devil cards.
- Place your Security Officer card on the center-left square of the bottom row. That space has a -1 power buff, which will destroy your Security Officer. Don’t worry — that’s part of the solution.
- Place a Sea Devil card on the center-left square of the middle row.
- Place a Sea Devil card on the left square of the bottom row.
- Place a Mandragora card on the left square of the middle row.
- Keep placing your remaining three cards — one Mandragora and two Mandragora Minions — on the center-left square of the bottom row. They’ll get destroyed every time you place them, but each placement will increase the power of your two Sea Devil cards. Once your middle-row Sea Devil is at 6 power and your bottom-row Sea Devil is at 5 power, end the match to win 12–8.
You’ll earn the Sea Devil card for use in your personal collection after winning this round of Card Carnival.
Card Carnival ‘A Kingly Clash’ solution

The sixth Card Carnival challenge, “A Kingly Clash,” pits you against an opponent with seven points in the top and bottom rows and 13 in the middle row. You’ll start with three points in the top and bottom rows and four in the middle. To win, you’ll need to destroy your cards to boost the power of your Tonberry King card for an overwhelming point total in the middle lane.
- Place your first Zu card on the center-left square of the top row.
- Place your second Zu card on the center-left square of the bottom row.
- Place your Tonberry King card on the center square of the middle row.
- Place your Mindflayer card on the left square of the middle row. This will weaken both of your Zu cards.
- Place your first Deathwheel card on the left square of the top row. This will destroy the Zu and Flame Trooper cards on the bottom row, and the Deathwheel you just placed; all three cards will increase the power of your Tonberry King.
- Place your second Deathwheel card on the left square of the bottom row. This will destroy the Zu and Flame Trooper cards on the top row, the Elphadunk card in the middle row, and the Deathwheel you just placed; all four cards will increase the power of your Tonberry King. End the match to win 16–14.
You’ll earn the Tonberry King card for use in your personal collection after winning this round of Card Carnival.
Card Carnival ‘One Shot, One Kill’ solution

The seventh Card Carnival challenge, “One Shot, One Kill,” is unlocked in chapter 12 and sets you against an opponent with 14 points in the top row, seven points in the middle row, and eight points in the bottom row. To win, you’ll need to use the Dyne card to trigger a chain reaction that destroys all of your enemy’s cards.
- Place one of your Bomb cards in the center-right square of the top row.
- Place your second Bomb card in the right square of the middle row.
- Place your Scrutineye card in the center-right square of the bottom row.
- Place your Bloatfloat card on the center square of the bottom row.
- Lastly, place the Dyne card on the left square of the middle row, setting off a chain reaction that blows up all of your enemy’s cards (and most of yours), leaving you to win the game 4–0. (Note that the image above shows how the board should stand before you place Dyne.)
You’ll earn the Dyne card for use in your personal collection after winning this round of Card Carnival.
Card Carnival ‘Curse of the Gi’ solution

The eighth Card Carnival challenge, “Curse of the Gi,” is unlocked in chapter 12 and sets you against an opponent with 19 points in all three rows. Daunting! But doable. To win, you need to use your Jabberwock, Griffon, and Gi Nattak cards to power up your weaker cards.
- Place your Desert Sahagin card in the center-left square of the top row.
- Place your Sandhog Pie card in the center-left square of the bottom row.
- Those previous two placements will create two pegs in the center-left square of the middle row, where you should now play your Jabberwock card. The result will destroy your Sandhog Pie card but increase your Jabberwock’s power to 13.
- Place your Crystalline Crab card in the center-left square of the bottom row (where Sandhog Pie used to be).
- Place your Riot Trooper Card in the left square of the bottom row.
- Replace your Riot Trooper Card that’s currently in the left square of the bottom row with your Griffon card, increasing your Jabberwock card’s power as a result.
- Replace your Jabberwock card in the center-left square of the middle row with your Gi Nattak card. This should increase the power of your Desert Sahagin and Crystalline Crab cards such that you win the top and bottom rows with 20 points each, finishing the mach 40–19.
You’ll earn the Gi Nattak card for use in your personal collection after winning this round of Card Carnival.
For more help in the Costa del Sol region, see our guides on where to find all ziplines, where to find all Cactuar stickers, which swimsuit to pick, and where to find the Tonberry King.
If you need more nitty gritty Final Fantasy 7 Rebirth guides, here’s a list of Queen’s Blood cards and a rundown of side activity rewards.
Source:https://www.polygon.com/final-fantasy-7-rebirth-ff7r-guide/24072403/card-carnival-solutions-costa-del-sol-queens-blood